Receiving and unpacking the standard J-Vice kit
During the production process there was a great communication with Jay to be sure my J-Vice would be exactly regarding my wishes. Before Jay send the vice, he build it up and made a clear picture and send it to me for a final approval. First when I was 100% satisfied, I made the payment and he send me the package.
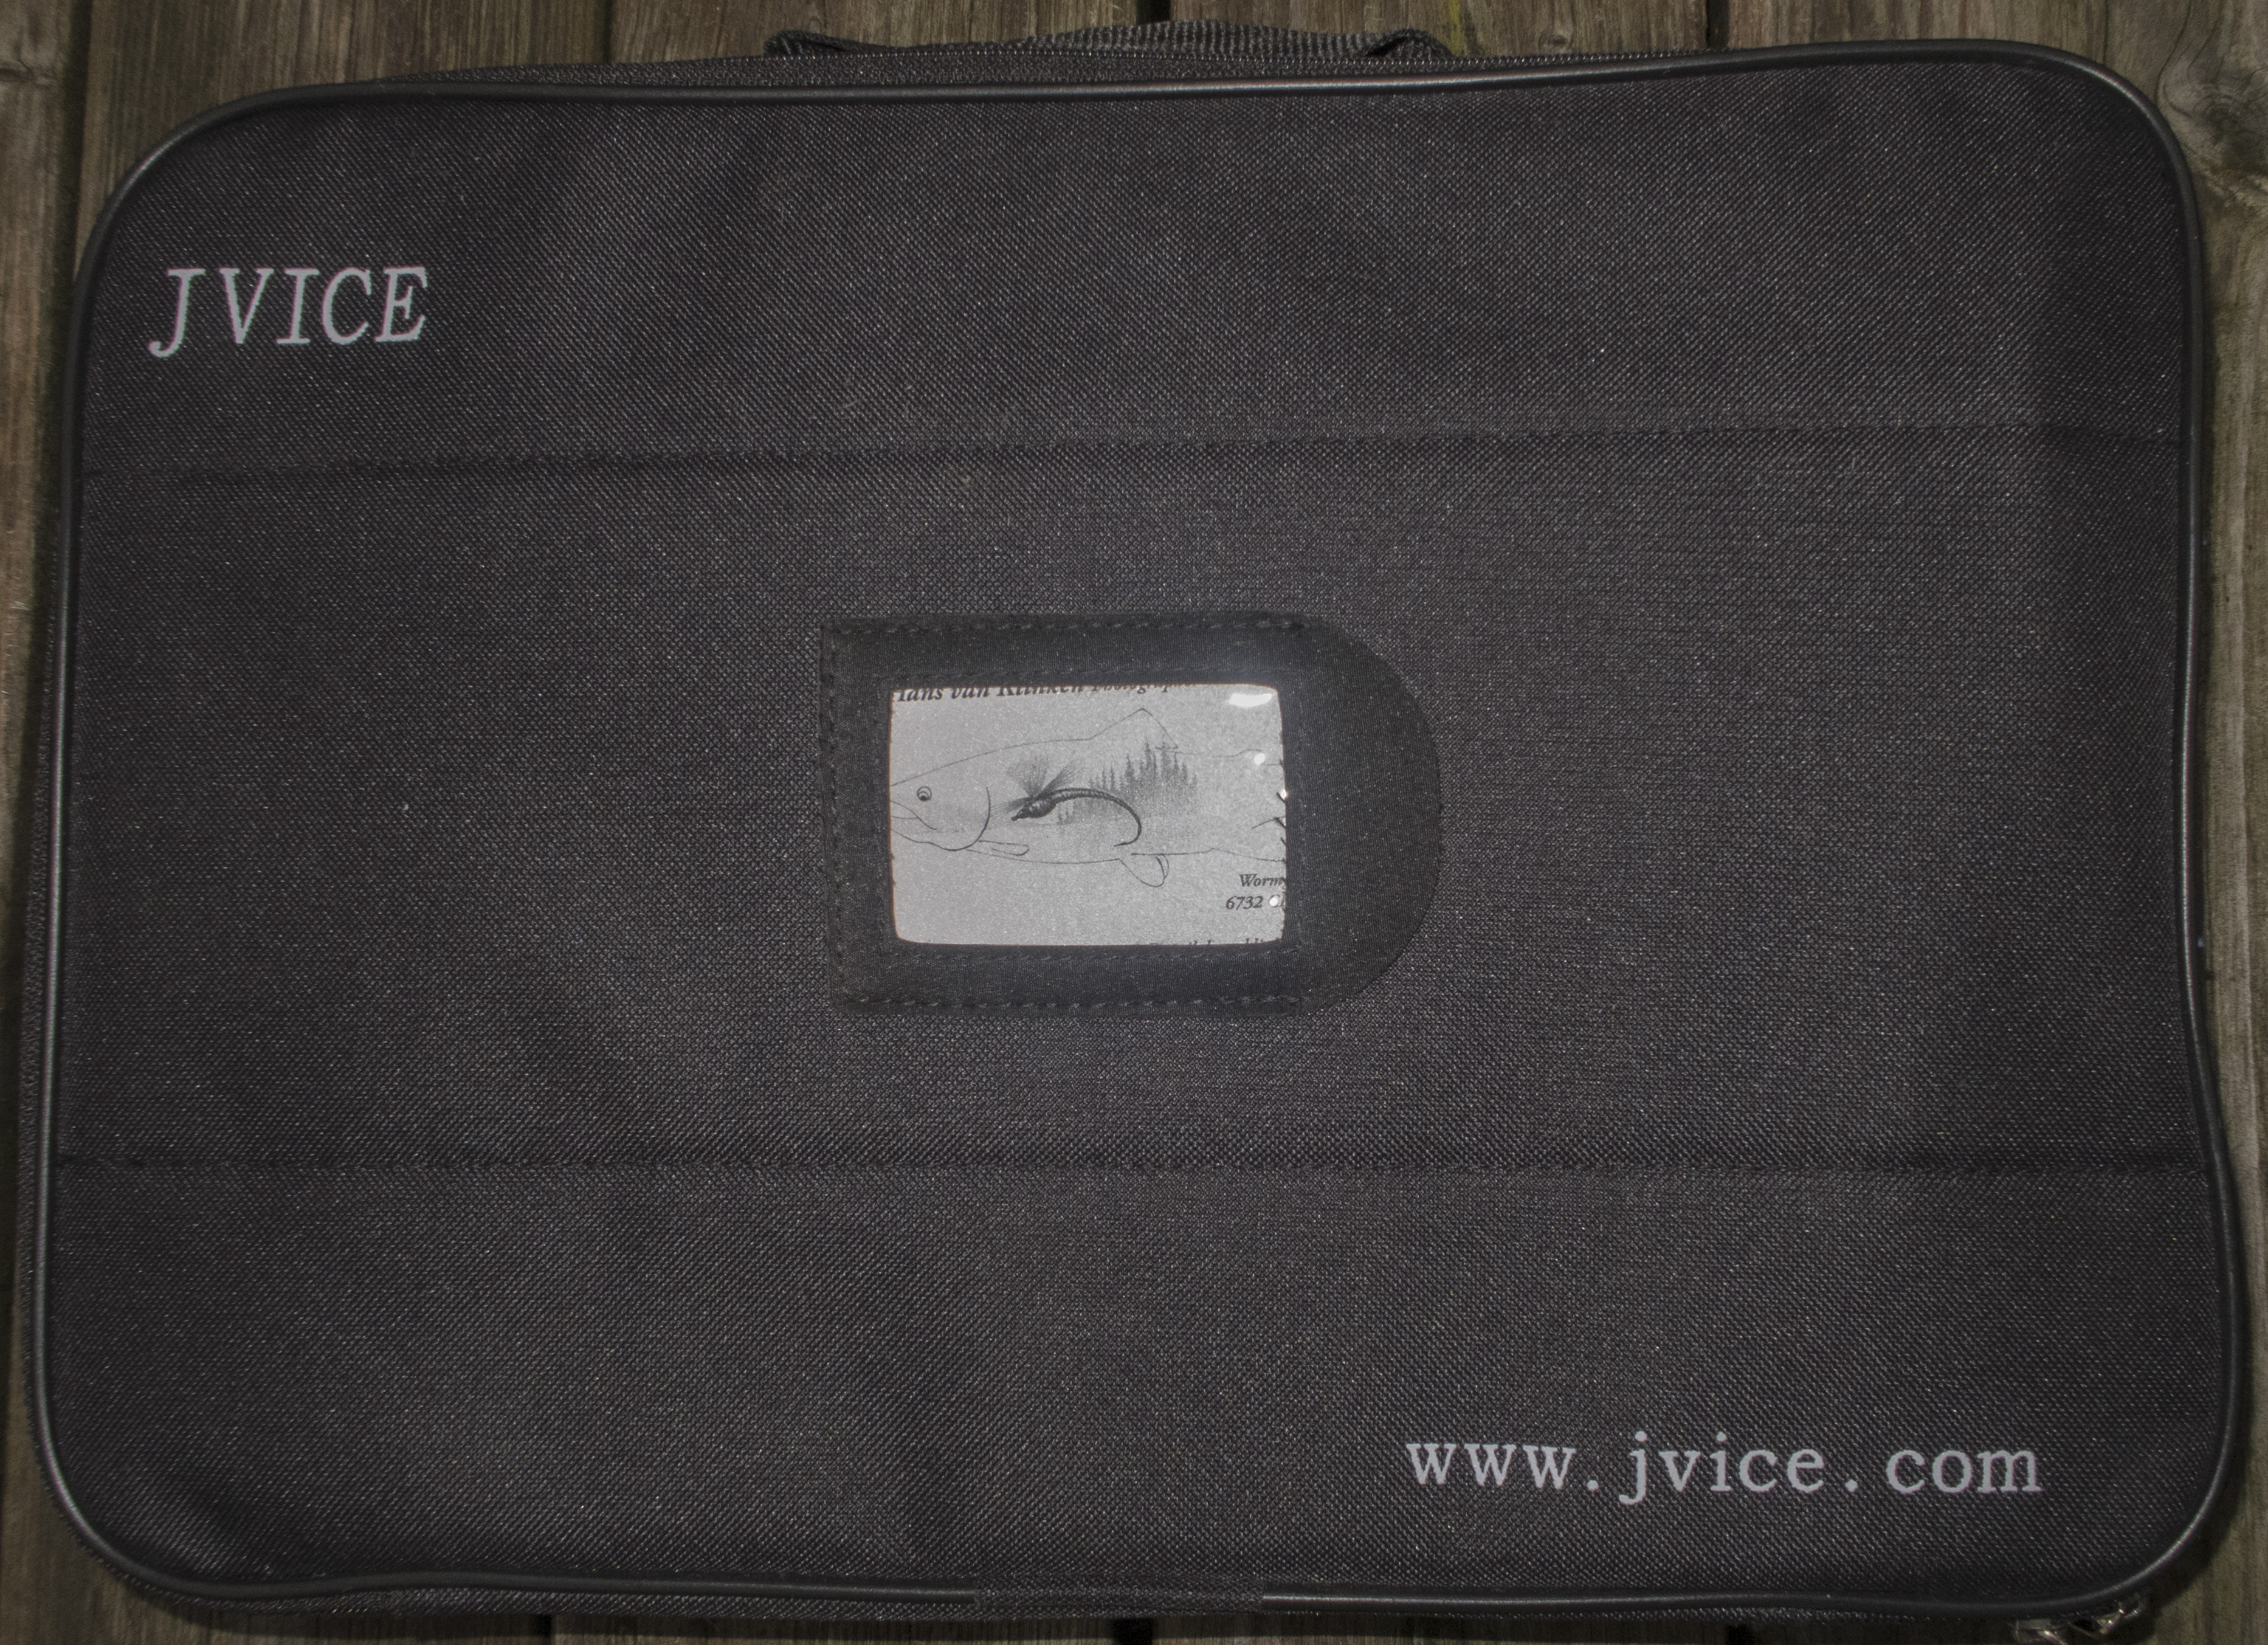
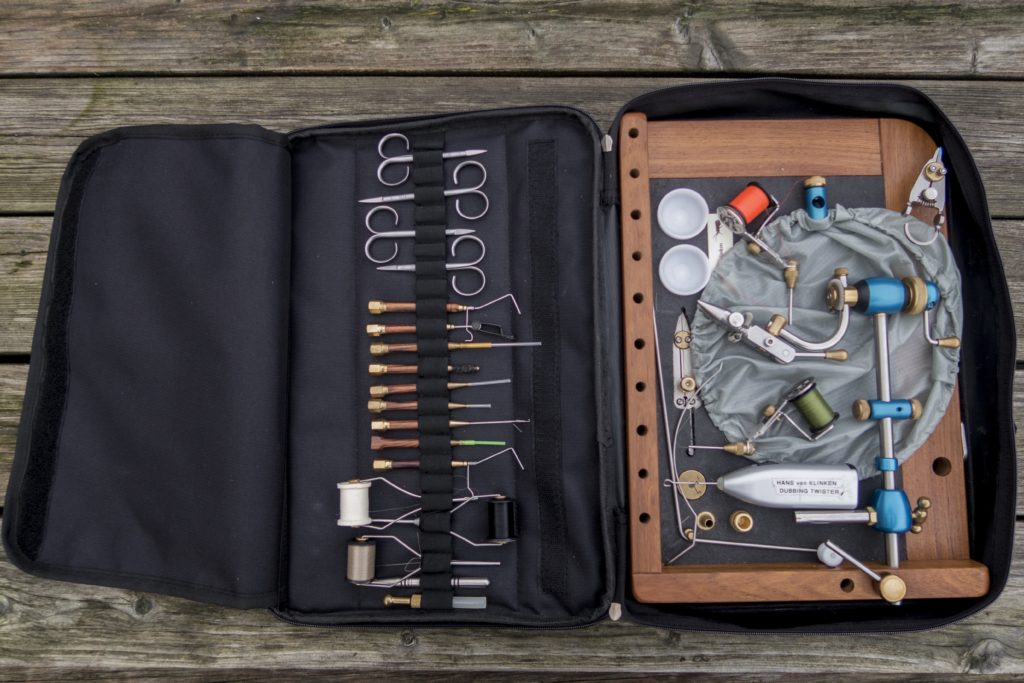
When I received my J-Vice it came carefully packed in bubble air wrap in Jay’s own designed laptop style case. When I opened the case I noticed the unique locking mechanism to protected the vice and base was in the perfect position for travel. The base and attached vice fitted well inside the handy laptop-sized carry bag. The way it’s packed means you can easily take it with you as hand luggage on a plane. (Of course you have a check on forbidden tools like needles and scissors well before boarding). The wastebasket was placed underneath the vice. I have a frame with a foam base but friends of mine who have a full wooden base told me that they put an extra piece of cloth underneath the vice to protect the wood while travelling. Because in the locking position a little part of the GooseNeck is just above the frame I do exactly the same. I am always very careful with all of my equipment and it doesn’t matter whether it’s my vice, rods, reels, camera’s or lenses. I treat them all the same, especially while travelling.
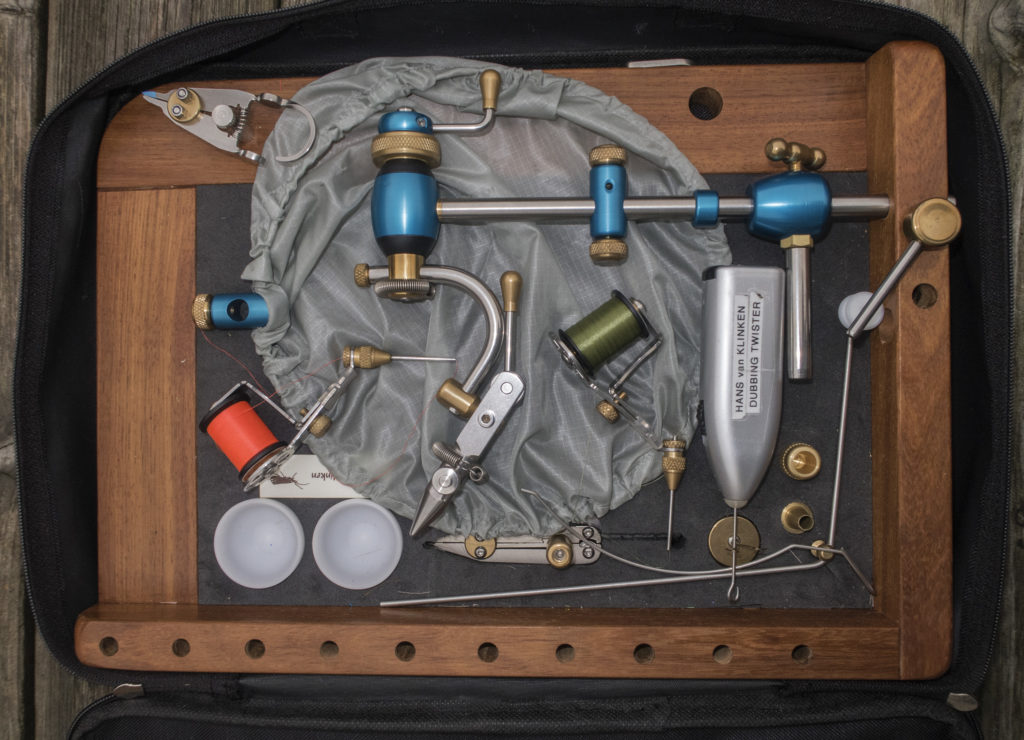
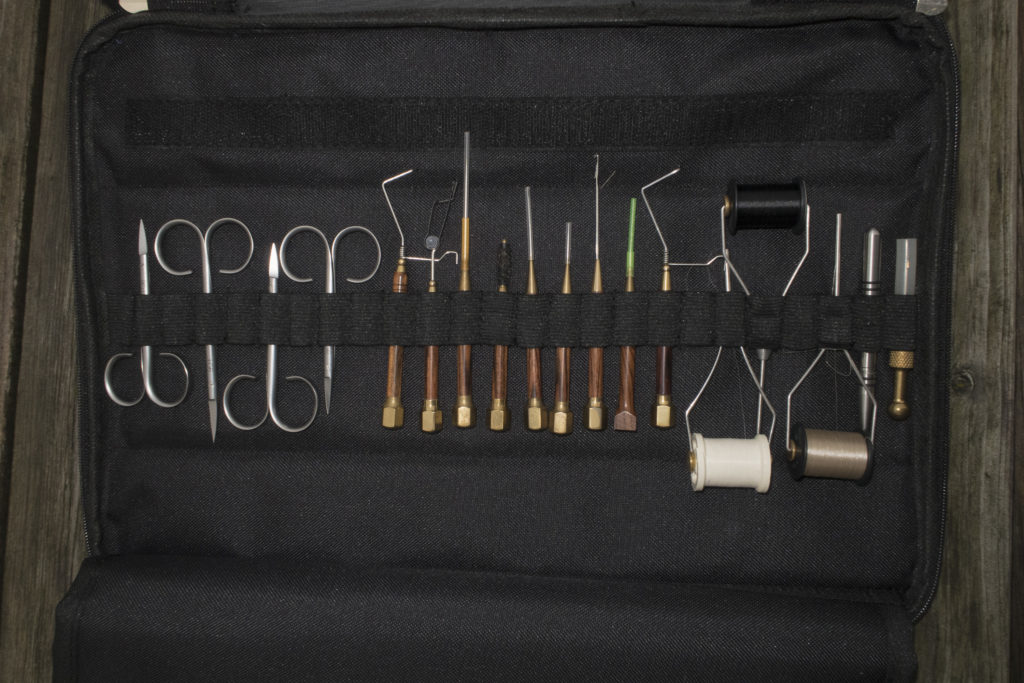
The case also has a Velcro style pocket, which can hold some of the optional extras and at least twenty extra tying tools. You can also include a few basic materials or just the materials to tie a few different patterns. At first the pocket looks a bit hidden but once you open the cover a wonderful extra compartment shows up where you can store all these extras.
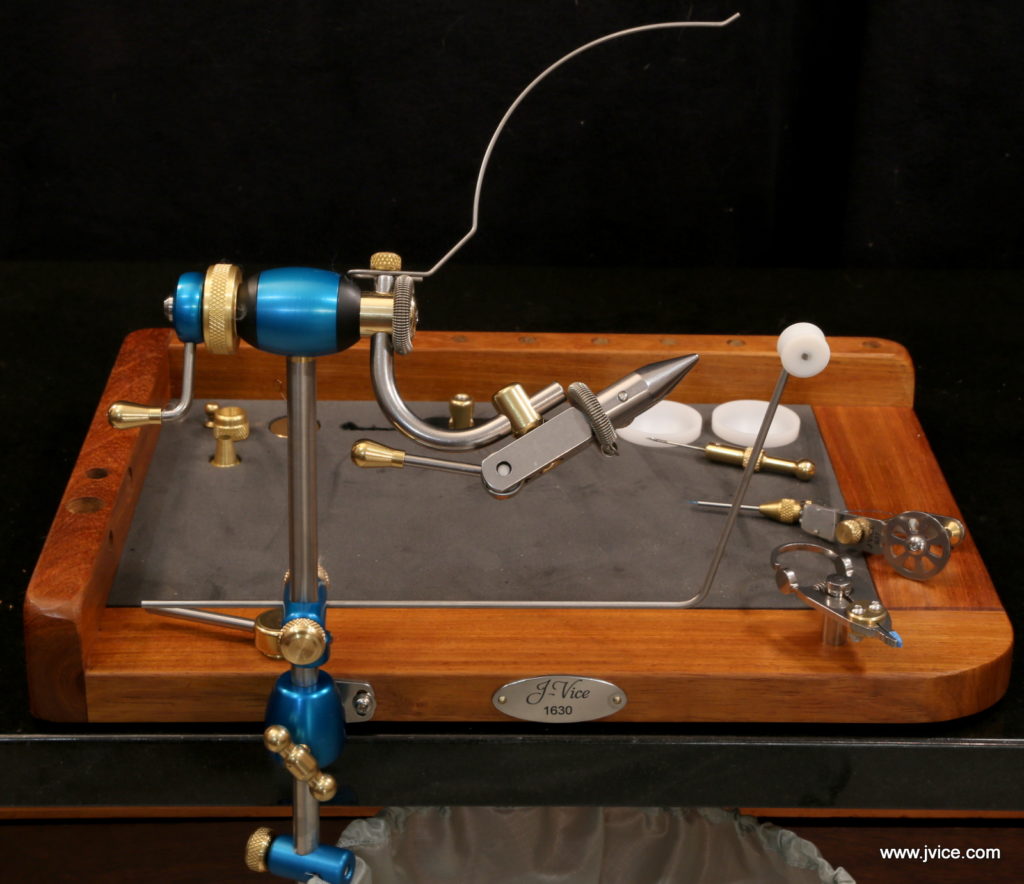
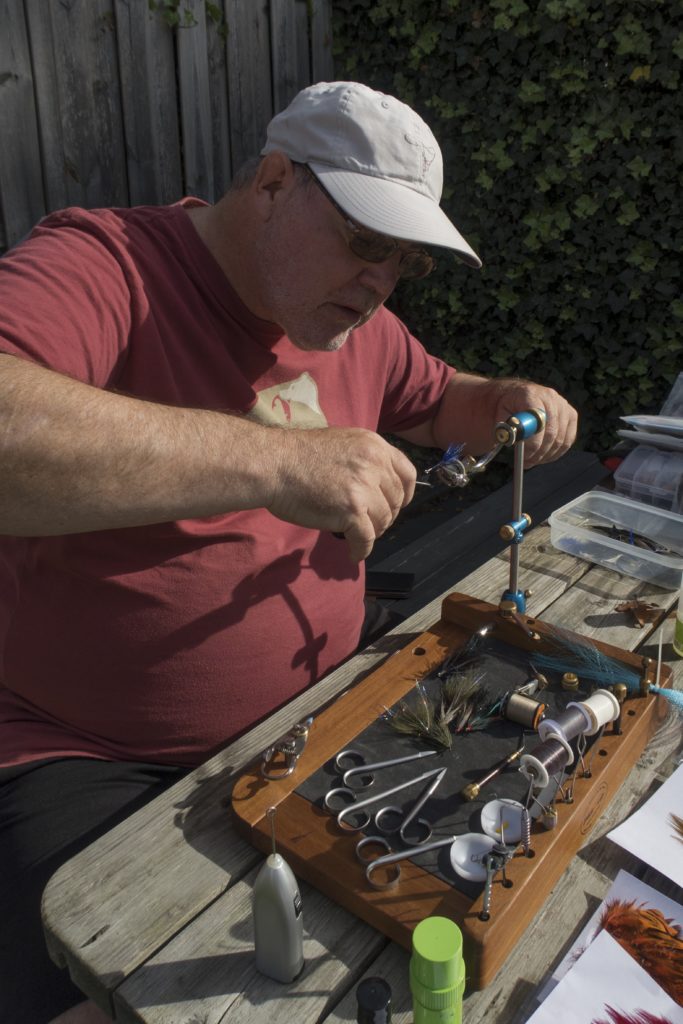
Packed inside was the standard J-Vice kit with oak base, pedestal or workstation, original J-Vice GooseNeck, the SS Pro Jaw in 431 stainless steel, a bobbin rest with stem bushes and brass thumb, the extension arm, gallows tool, a wastebasket, and maintenance and operating instructions. You also will find a complete set of Allen keys (its metric). My base was setup for right-handed use, but if you tie left-handed all you need to do is to inform Jay so that he can set up your base accordingly. Impressive is that you can work with the standard J-Vice kit as a kind of workstation. (I like that name for the base) This was another important reason why I choose the J-Vice as my final one. I love the workstation design. It’s very quick to set up and you can remove the whole station easily from kitchen table, to garden table and back to your desk again. You can also work with it on your lap or in your car or even tie on the riverbank. Ideal for me who always make a mess everywhere I tie. I also hate cleaning up so I have my vices on my desk in my tying room always in standby mode. With the J-Vice I can easily move around my house and garden with hardly any effort or the need to first clean up everything. I just put my materials on the oak base than grab it and walk with everything to my new tying location.
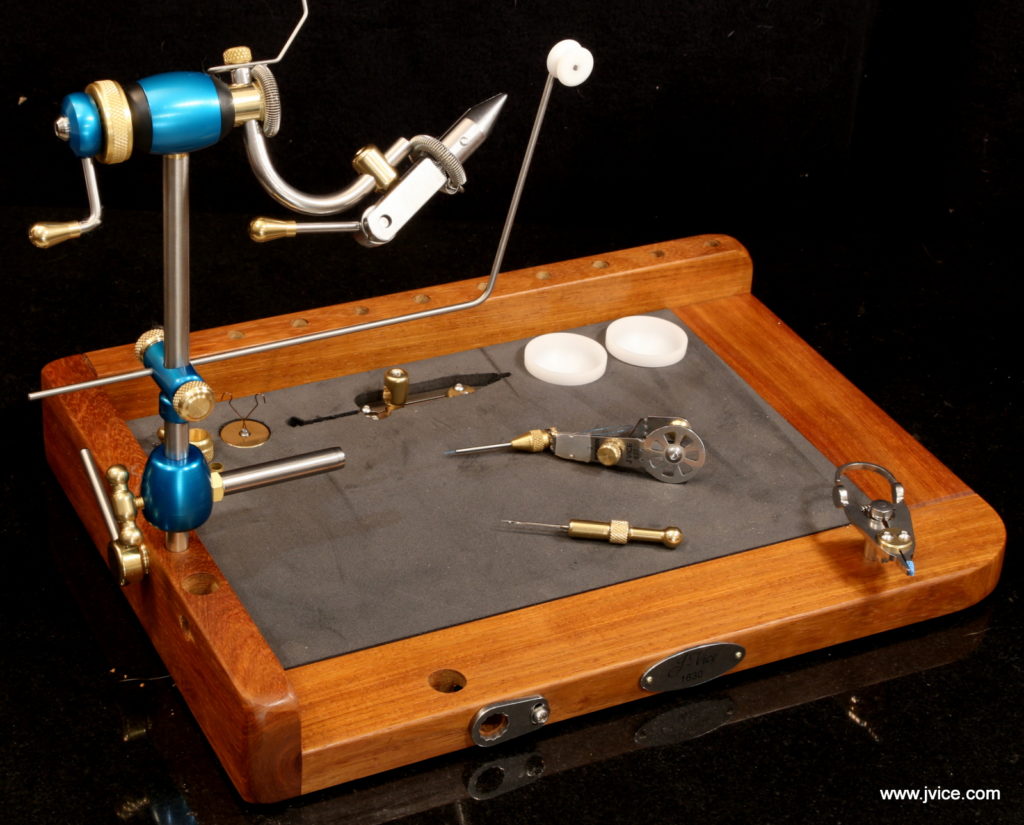
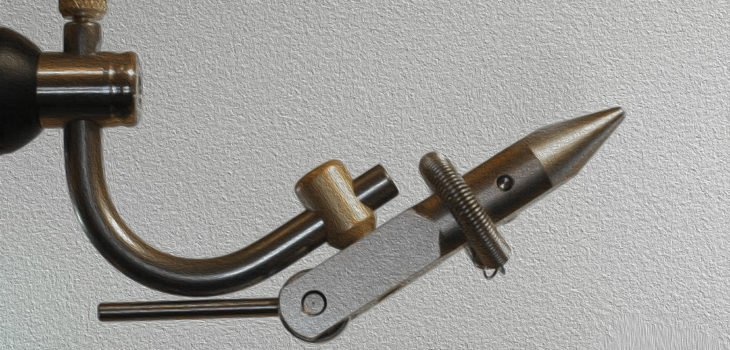
The Jaws
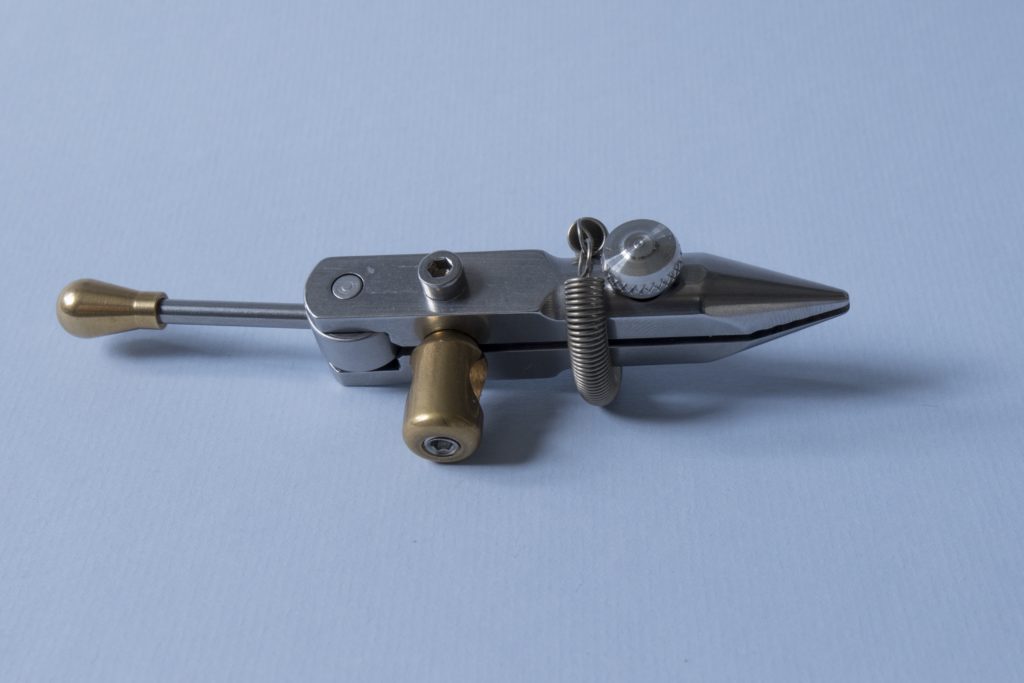
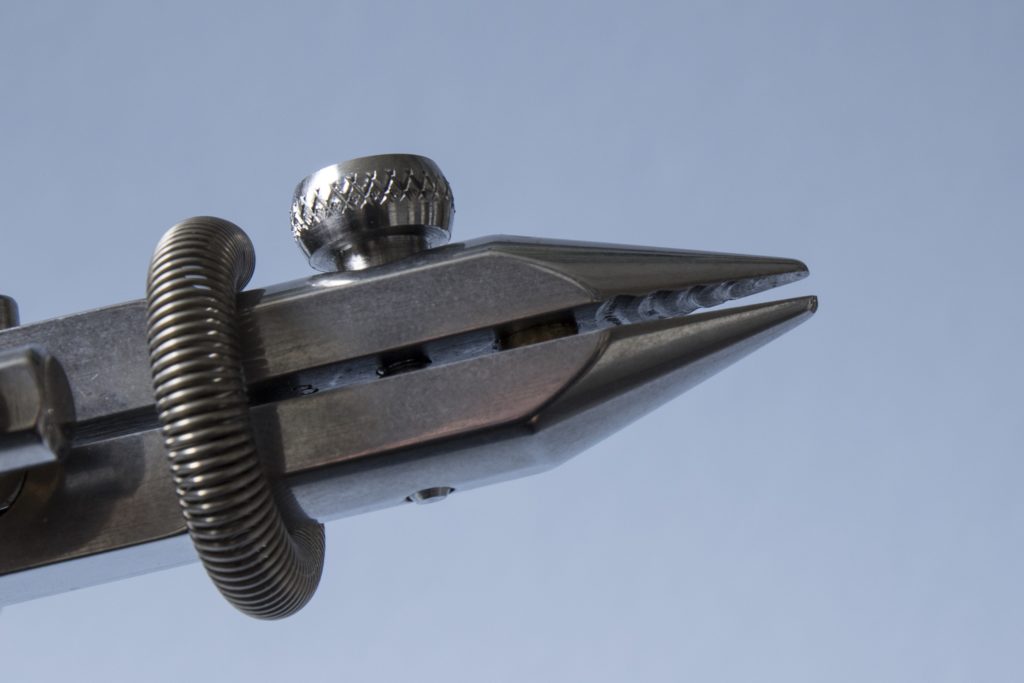
Lets get to some serious stuff now. The Pro Jaw that comes with the vice can take hook sizes from 8/0 to 22. The jaws are now made from 431 SS, which is hardened to approximately Rockwell C55. They are then polished before assembly but can be softened to a matt finish on request. The jaws use a 3-stage cam for clamping and have 5 concentric grooves to secure and hold the bigger hooks even better. The clamping lever works like this: the starting point is straight down. Then you tighten the side screw with your hand so it just holds the hook. When the lever is pushed forward towards the fly its action is very coarse to quickly release the fly. When it is pulled back to start clamping, the jaw clamping movement is initially medium, and as you get further back to the final clamping pressure the jaw movement is very fine. A special spring has been wrapped around the jaws to hold your threads, hackles, tinsels and fibres out of the way while tying.
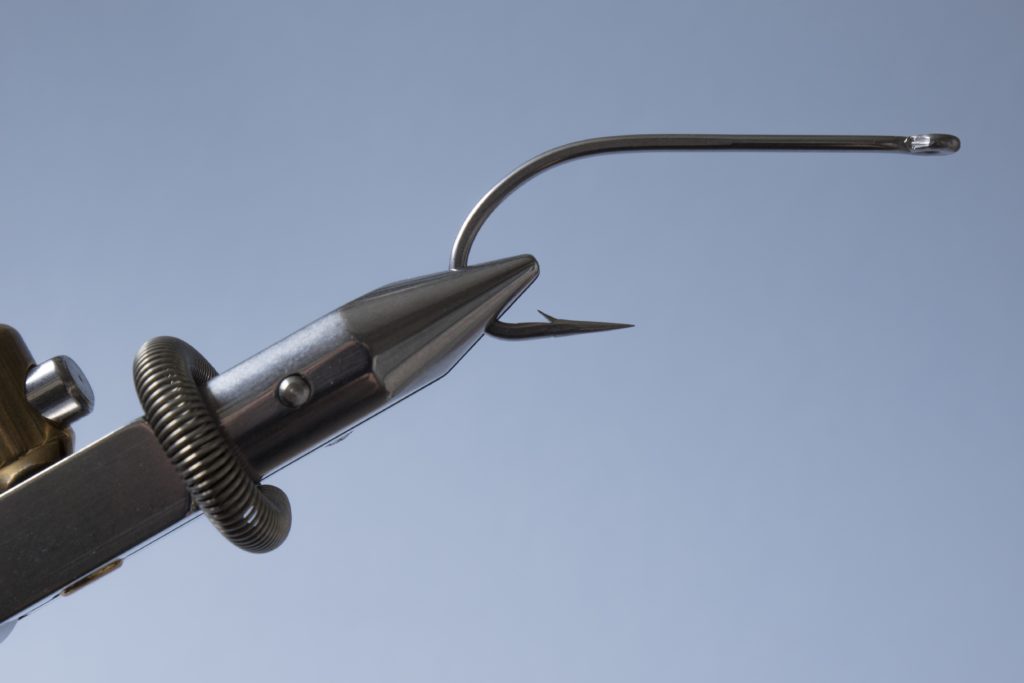
Standard Po Jaw holding a Daiichi 1260 size 6

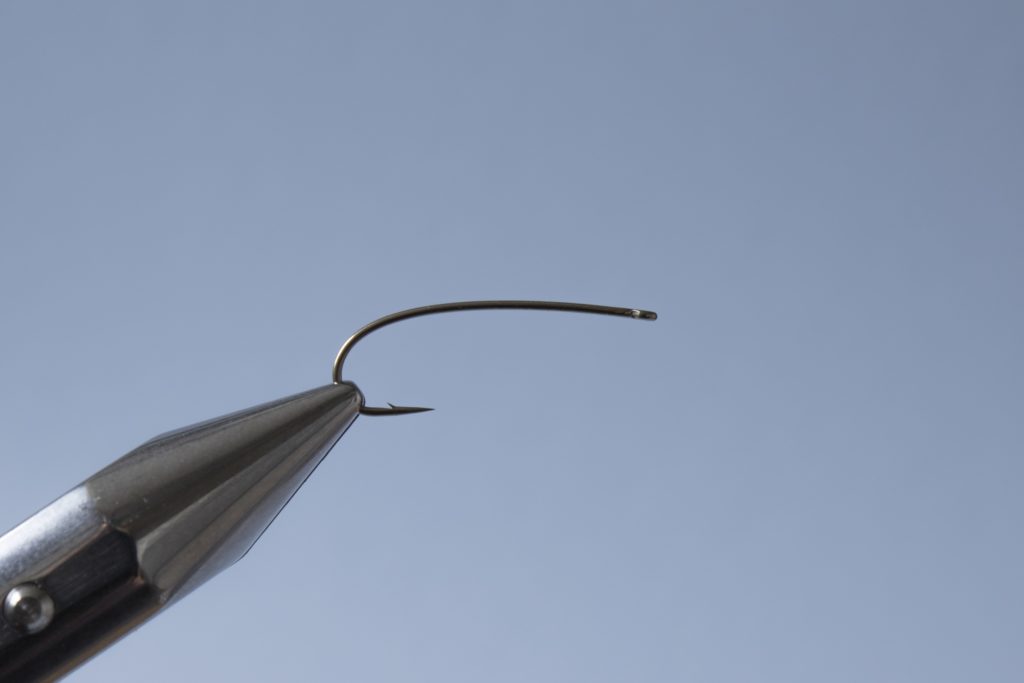
Standard Pro Jaw holding a Daiichi 1100 size 24
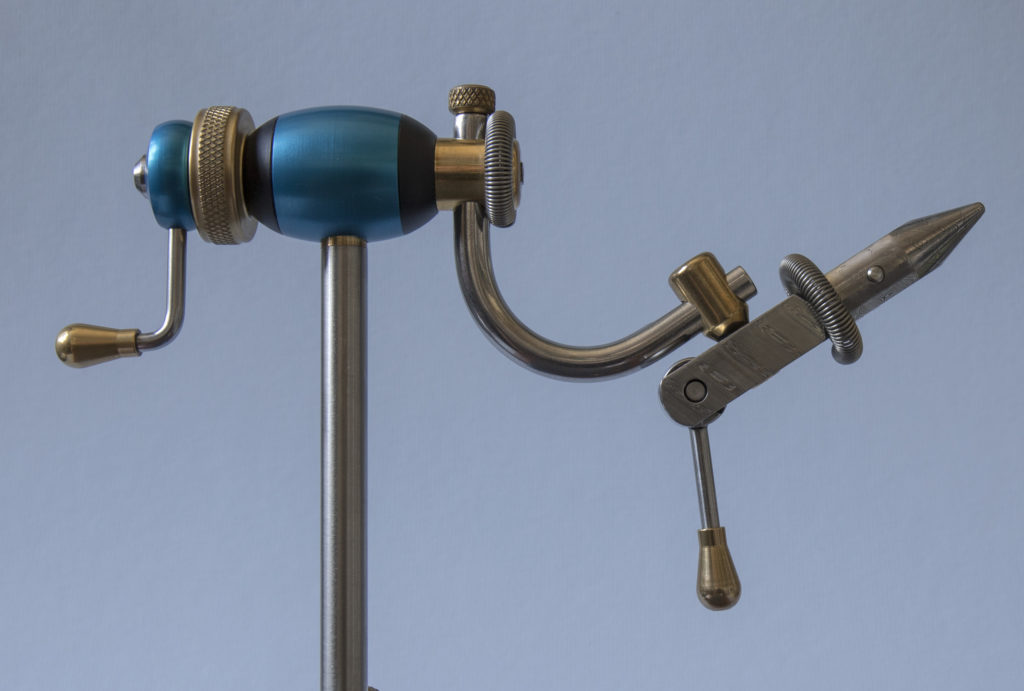
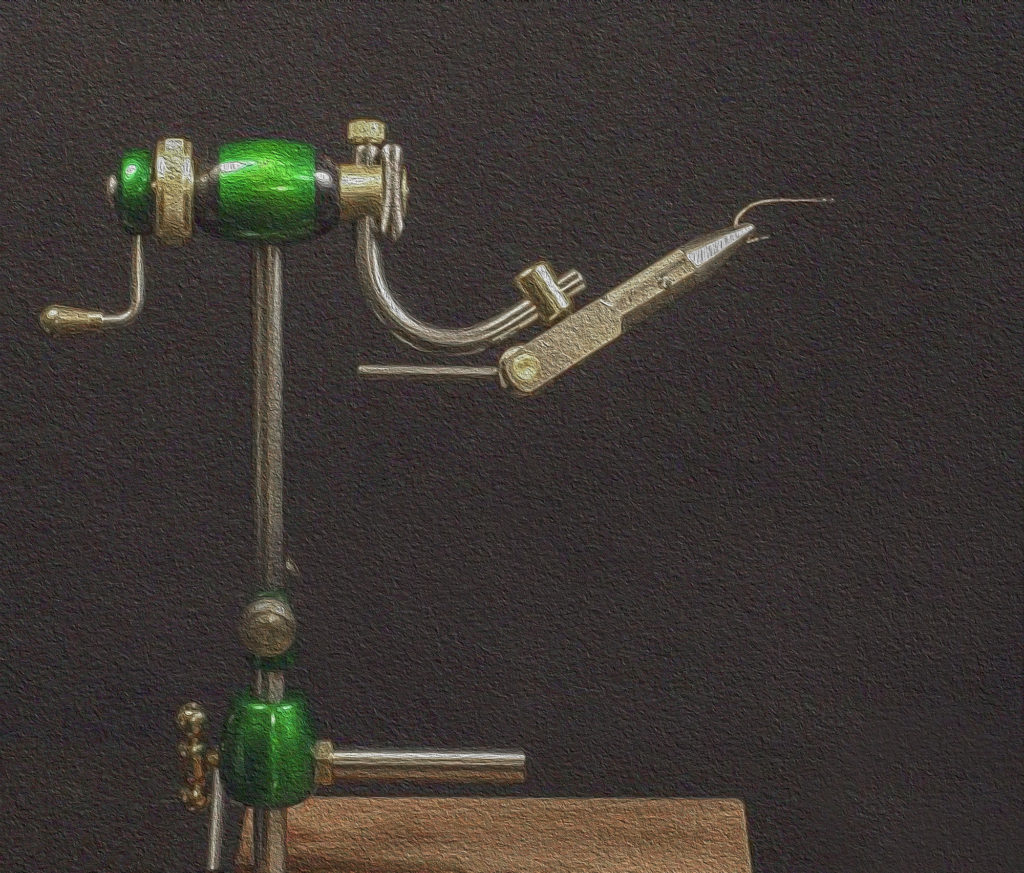
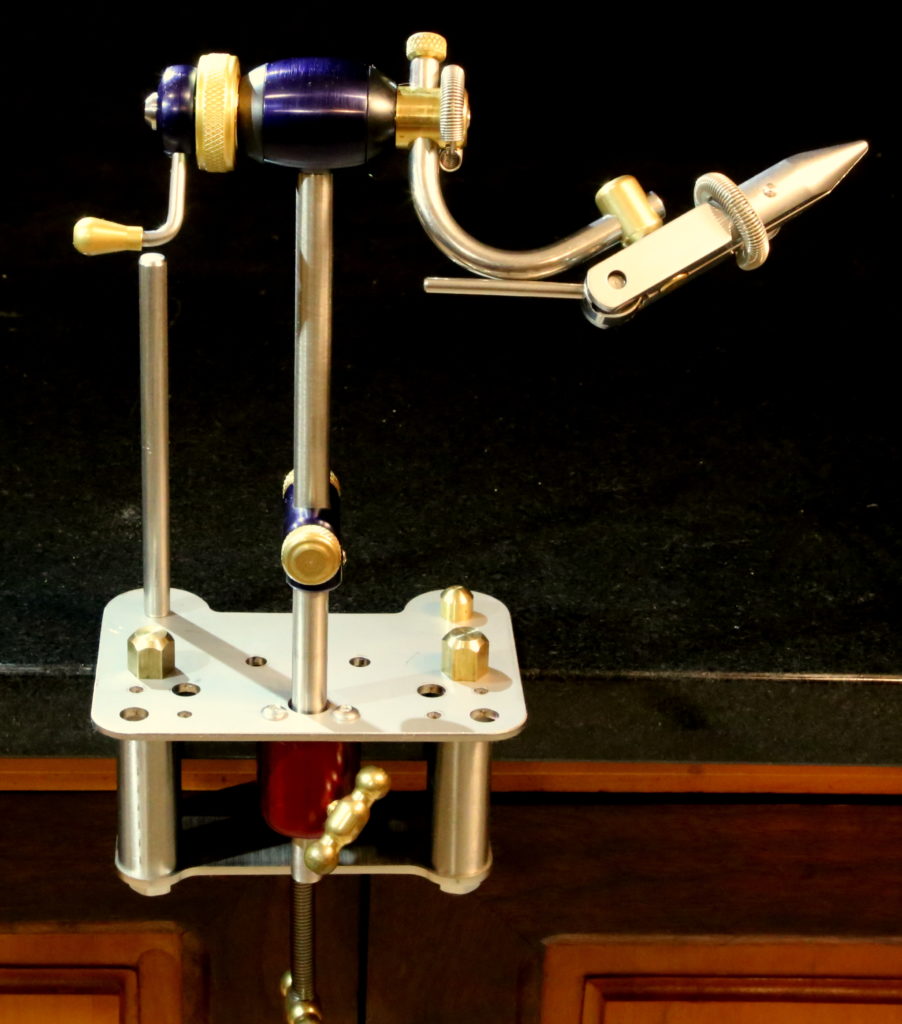
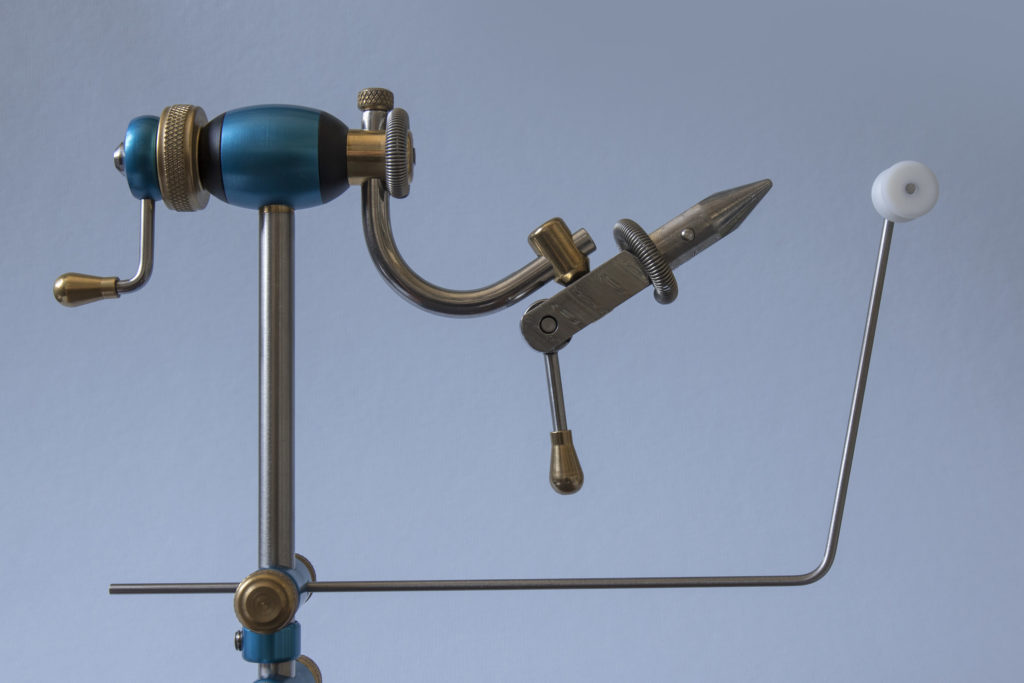
The original J-Vice GooseNeck with rotary mechanism
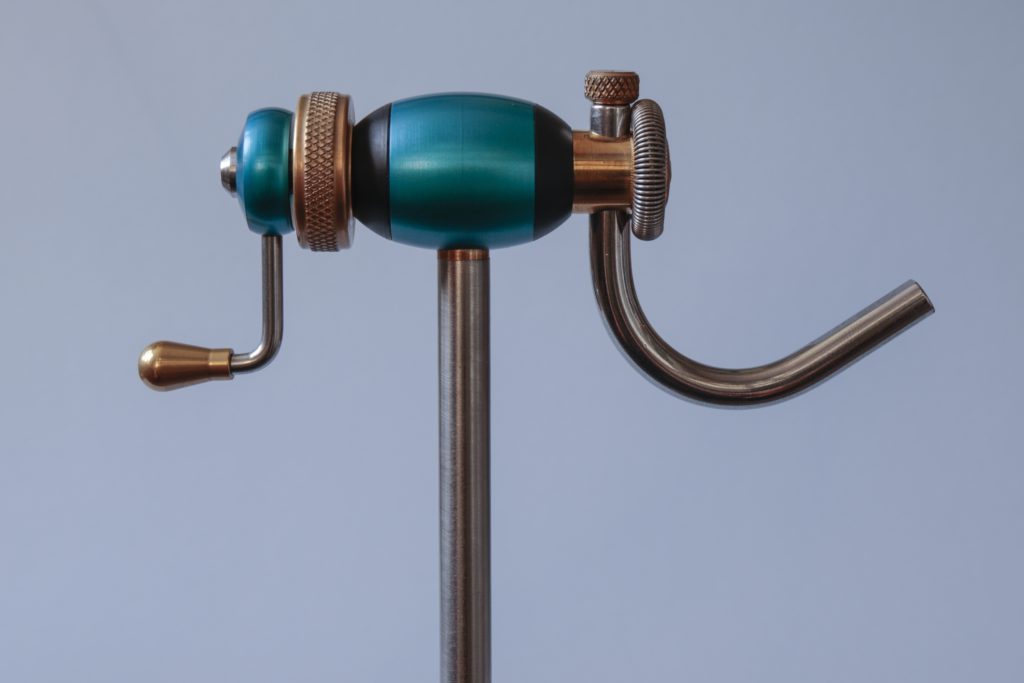
The main shaft rotates in two Ertalyte self-lubricating bushes. This material is used in heavy engineering for slow rotating bearings. The large brass thumbscrew allows for quick acting, one-handed friction lock in any position. By tightening and loosening the big thumbscrew you adjust it to your most desired preferences. It is important to place the hook correctly in the jaws so when rotating the hook shank stays level and merely rotates. What I like in particular about how Jay designed his GooseNeck is the handle to do the rotation with. You can feel the harmony in the mechanism and how everything works together. I have played with quite a few rotary vices and a few of them I wasn’t really pleased with at all, mainly because I didn’t like the movement of the handle and how it creates the rotation.
I got into the rotary system quite late in my fly tying career because there weren’t any on the market when I started with my fly tying. I think the first serious rotary vices became available somewhere in the early eighties. Although most of my successful flies were developed without any rotary option, I see quite a few wonderful reasons why somebody would chose a rotary vice instead a normal one. When it comes to the rotary mechanism you will learn quickly that it is extremely useful and has several benefits. Over the years I saw fly tiers who even developed special techniques that are only possible to use with rotary vices. I am not that specialized in these techniques yet, but I am still learning even after 43 years of fly tying.
Let me tell you how I see the benefits of a rotary vice: You will have full access and therefore much better control over your fly. You can check what you doing at all times and from all sides. Applying varnish will also be a lot easier. Then I personally love using the rotation for hackling my special bombers and bugs, especially when using long saddle hackles. I think it works pretty fast and is still very accurate. I also use the rotation to check the proportions on the left and right sides of the flies I tie for auction or publications or when I need to take some photographs. For checking or doing equal ribbing wraps its extremely useful too. In simple words, it’s perfect for inspecting your fly from all sides. You can easily turn the fly upside down when you need to tie something underneath, such as throats or beards on salmon flies, without having to remove the fly from the vice and reattach it.
A rotary vice is perfect for tying my Glomma Duns that need some extra upside down tying steps. What I also like about the GooseNeck is that you can let your hand rest very comfortably in the neck while tying and when needed you can even rotate the vice to some degree by moving your hand backwards and forwards. On the GooseNeck there is an extra spring that can hold longer hackles, threads and other tying materials during the tying process.
I am not sure in how in many colours Jay makes the GooseNeck but I have seen many. (Black, silver, gold, light blue, dark blue, purple, red and more colours on special request, I believe). At top of the GooseNeck there is a connection for placing a Gallows tool, all you need to do is loosen the Gallows screw, place the Gallows tool underneath and tighten the screw again. It’s a very quick and very stable connection. Jay also can make different shapes and lengths of Gallows tools on special request. My friend Leon Links, who also tie on J-Vice, have ordered a few different sizes because he really big into tying techniques with a Gallows tool.
Standard bobbin rest with stem bushes and brass thumb screw
The standard bobbin rest also comes with the vice and is quite useful for when you need to keep the tying thread in place away from the fly. I like to work with it with a loose stem adaptor so that I only bring it close to the jaws when I need it.
The frame and foam base tying station
The standard bases are made from imported American Oak and are treated with Woodoc 10. This clear, lead-free indoor wood sealer, with nontoxic preservative and anti-fungal properties is formaldehyde free. For maintenance you just oil with any good furniture oil. I just ordered a bottle Woodoc deep penetrating furniture wax for maintaining my base on Jay’s request, and it was easy to order online in Holland. It comes from the UK. Bases can also be custom made from any available commercial hardwood. Jay makes bases from Kiaat, Panga Panga, hard Pear, African Rosewood and various other African hardwoods. These are not always readily available and can result in a longer delivery time.

After talking with Jay I ordered a right-handed and lightweight frame and foam base, especially for air and light travelling. The frame is well made and very cleverly designed. The foam centre fits perfectly inside the wooden frame. The foam is extremely durable and secured by a thin aluminium bottom plate. It’s easy to remove when needed. On my frame I ordered a special hackle holder at the right side of the front frame, and ten drilled holes for placing equipment and tying spools with threads, tinsels, floss, silk etc in the back frame. For the spools I just place a little homemade spool holder in the holes and put the spools over it. I mostly use three to five spools placed over the holder. At the front of the front frame you will find a nice oval metal plate with the J-Vice logo and the serial number of your vice, and a 10mm hole with an extension arm plate. There is also a 15mm hole to place the unique quick release brass cam adaptor (locking mechanism) to secure the extension arm in the front position. In my case as a right-handed user. My base have four other holes on the left side of the frame (2x10mm and 2x 15mm) to use the vice in 2 other positions. The first hole is also the transport hole for keeping the vice in transport position. The 15mm holes are for the locking mechanism to secure the Gooseneck or extension arm.
On special request Jay can make holes in the foam to take special tools or accessories. So for me he made holes for bead or hook dishes, a dubbing spinner, mini hair stacker and midge jaw to store it in my workstation, what I like the most. Of course he can make as many holes as you want. It is very wise to search for other J-Vices on the WWW and check out what other people ordered before you let Jay make the holes for you. So I regret I didn’t ask Jay to make me a hole to place my special Overton’s wax inside and a place for my varnish. On the bottom of the base Jay put 4 silicone anti slip parts for extra stability and to prevent damages on tables.
The Locking Mechanism (quick release brass cam adaptor)
The locking mechanism is extremely important, as it is the main way to secure and attach the GoosNeck with Jaw to the base in the various positions.
The extension arm
It’s a special adaptor to place the Gooseneck in two different positions on the frame.
Gallows tool
The gallows tool is particularly useful for tying parachutes and paraloops, and is another extras which comes standard with the J-Vice. Unlike other gallows tools, Jay’s design rotates with the vice and doesn’t get in the way when using the rotary feature.
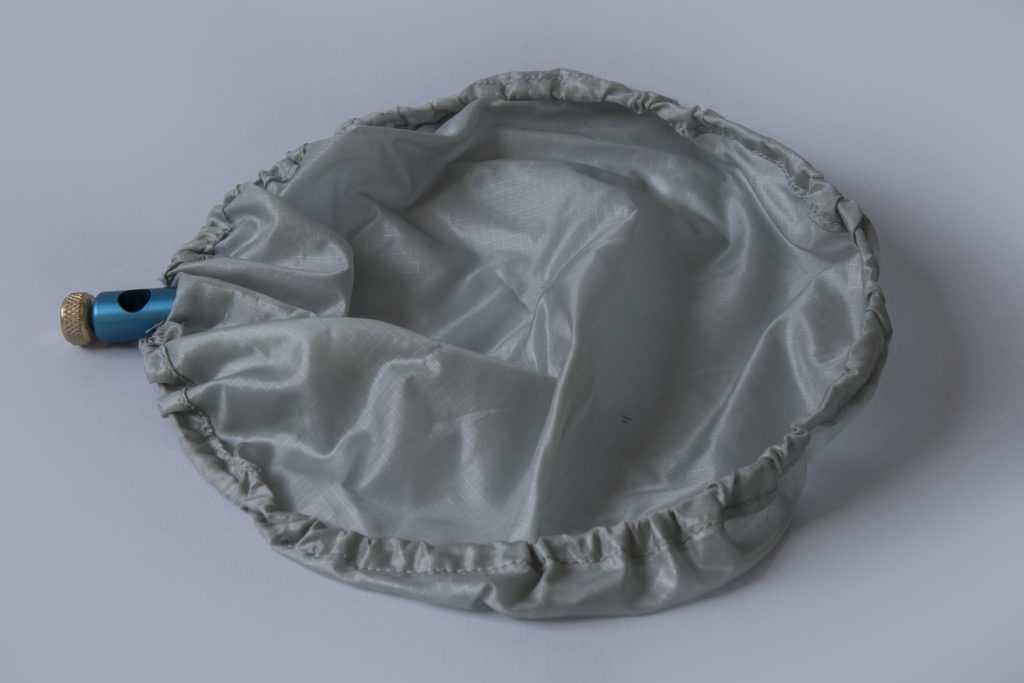
Wastebasket
The J-Vice also comes with a small wastebasket, which can be attached to the main shaft and will make most housewives very happy. I use the basket in different ways because it doesn’t fit underneath my vice at all times. It depends what table you are sitting at.
Finally
You will find included the maintenance and operating instructions, and a complete set of Allen keys (its metric), which you will need to take some parts apart for placing other accessories, or for maintenance.
Extra accessories
There is no vice available on the market that is as versatile and multi-faceted as this one and the J-Vice has a lot of extras that can be purchased either with the vice or separately afterwards.
Let me just line up the extra’s for now and I will do a review on most of them later. Of course, beside the common extras, Jay can also make extra accessories or extra adapters on special request as well.
- Full oak base
- African hardwood base
- Stem Knuckle
- Midge jaws
- Damasteel pro Jaw
- Articulated Bobbin rest
- C-clamp large
- Desk stand
- Bead dishes
- Hackle plier
- Dubbing spinner
- Mini hair stacker
- J-Bobbin
- Bodkin leg threader
- On base brush maker
- Long fibre brush maker
- Tube fly attachment
- Extra tube fly accessories
- Deer hair packer
- Camera attachment
- Backdrop card holder
- Hand vice
- Tool caddy
- Fly line spooler
- Kiridashi Damasteel
- Additional saltwater streamer attachment